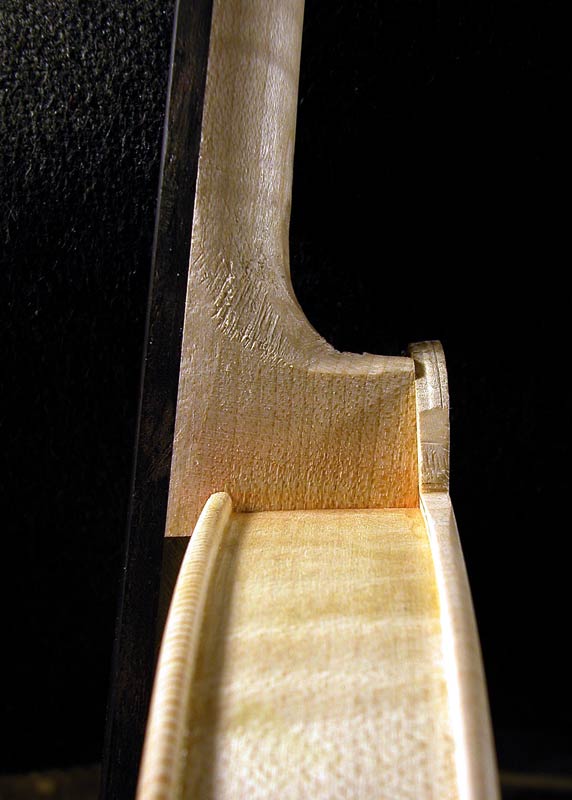
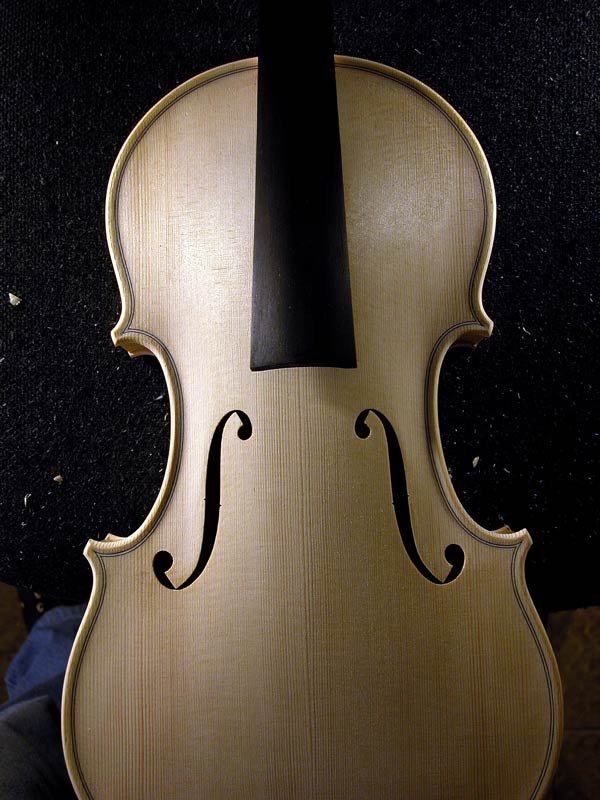
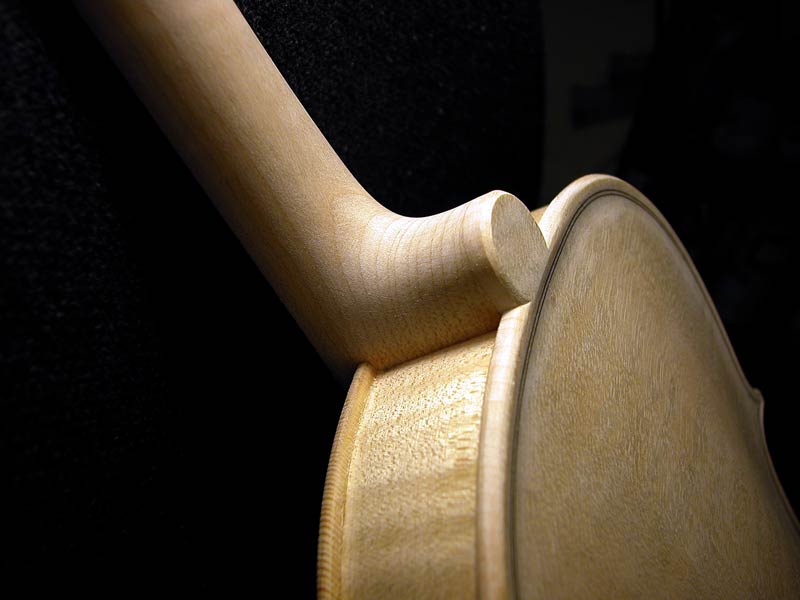
Queste sono le ultime fasi della costruzione del violino: il fissaggio del manico alla cassa armonica e conseguente finitura del piede del manico.
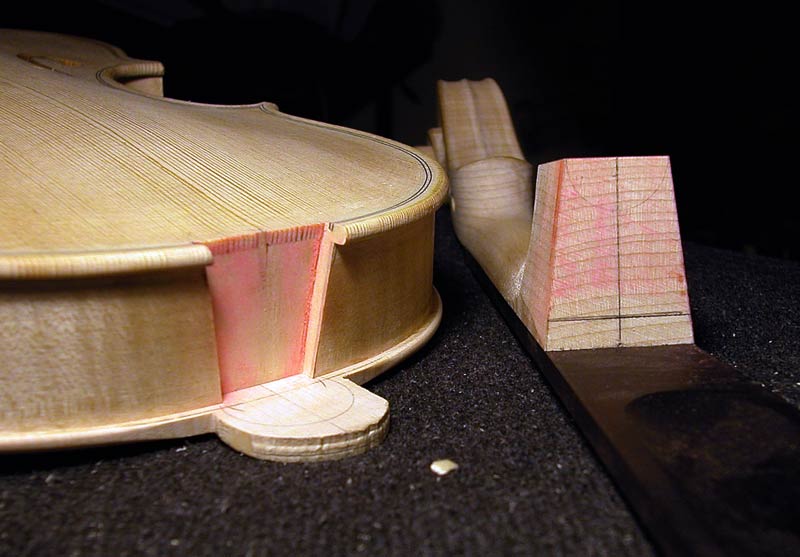
Qualunque metodo si scelga per raggiungere questo obiettivo, il risultato dovrà sempre essere quello di un manico fissato alla giusta altezza e con i giusti angoli orizzontale e verticale, altrimenti vedremo compromessa la suonabilità del nostro strumento. Nella prima foto si possono vedere le tracce di gesso colorato che ho usato per determinare la planarità delle superfici prima dell'incollaggio.
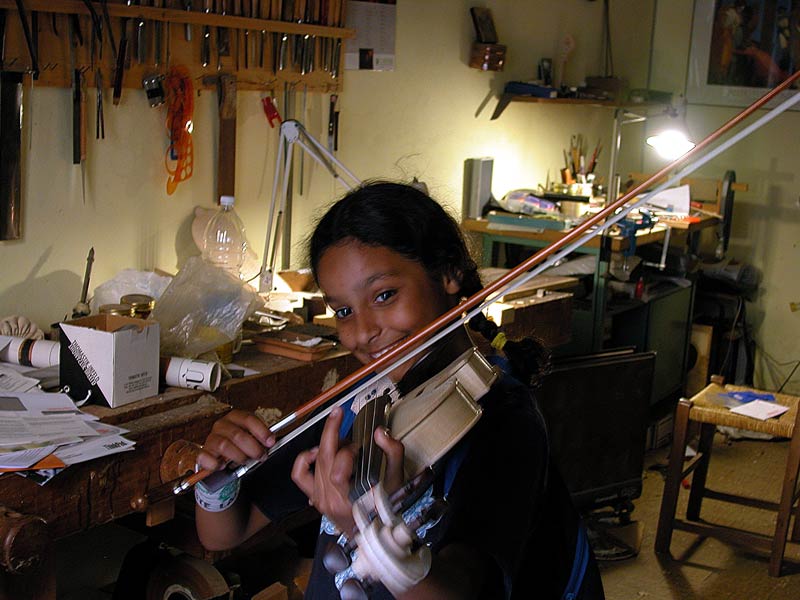
Le foto successive mostrano i vari passaggi fino al collaudo finale effettuato dalla mia musicista di fiducia.
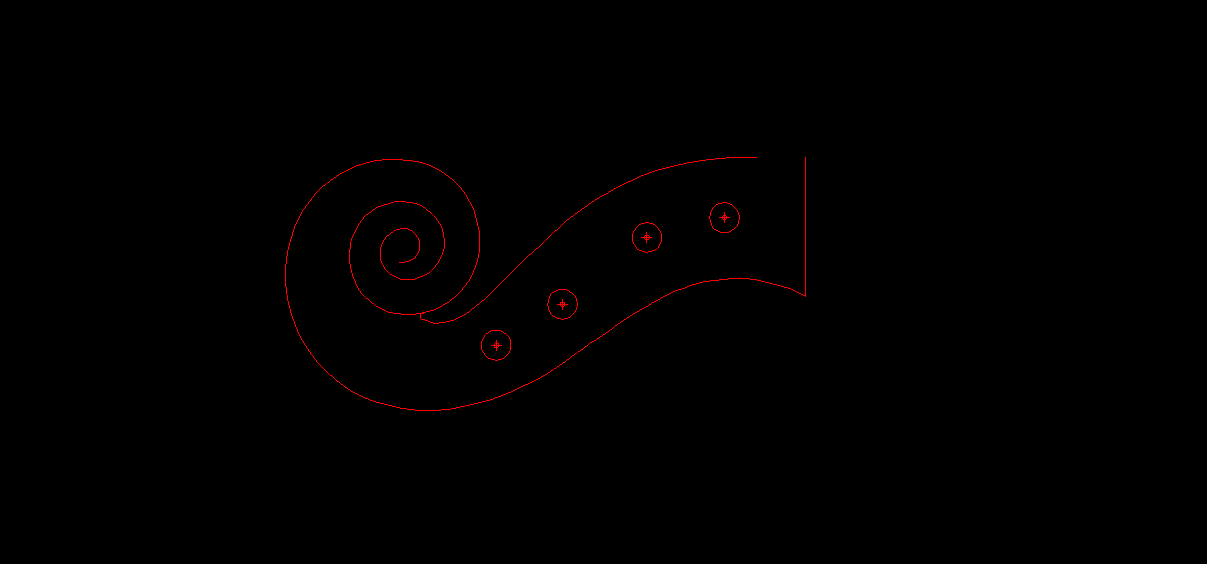
DavidTseng ha scritto:Grazie, Claudio, I would like to see your scheme for arranging the peg holes on the pegbox. When I design the template for the neck, I always draw straight lines from the height of the fingerboard nut to the peg holes to make sure the A-string will not interfere with other pegs.
David, here you can see that the center of the D string hole is slightly out off the center, it is about 1-2mm lower.
It is coloured chalk, to check the surfaces before the glueing process.
Dear friends, your questions are welcome: if you don't understand something, please ask me.
I work the mortise using a chisel. The chalk is used to color the neck's foot, then I try to apply it to the mortise. The chalk will mark all the irregularity of the mortise. You need to have a well planned neck's foot before.
How much taper do you have on the neck foot (or dovetail on the mortise)? When the neck foot is inserted into the mortise (before gluing), can you pull the neck out in the forward direction?
I am asking about the dovetail joint: how much taper you shape into both sides of the neck foot. If there is no taper, then you can pull the neck out in the forward direction. I argument the dovetail a little, so the joint is quite firm. Some people is against that, saying it would be difficult in the future to do neck reset.
Ok, I got it!
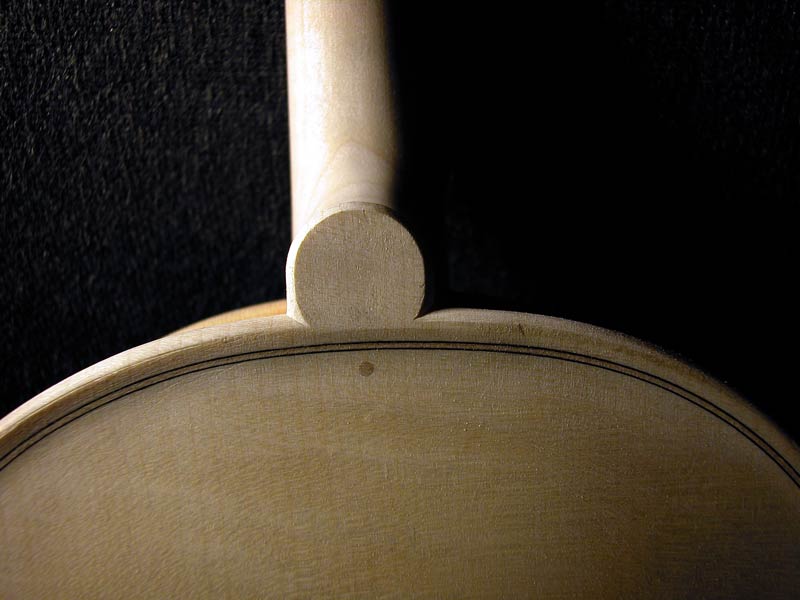
There is not any dovetail on my necks, because if you need of a neck repair or reset, it will be very difficult to pull it off. In the "normal" way (no dovetail) the joint is strongly tightened by the hide glue. Also, the button glued to the inferior surface of the neck avoids any movement.
Thanks, Claudio. I heard Hans Weisshaar once said that to remove the neck he simply gave it a "side kick" or karate chop. I don't think I an brave enough to do so. The back buttons of many old violins were broken, necessitating the use of an ebony insert.
You are right: Weisshaar suggested the "side kick" after the separation of the button from the foot's bottom. It seems work, but we need to be very experienced restorers. Generally for normal violins, I prefere to saw the neck near the mortise, then I use a chisel.
Claudio vorrei chiederti una cosa; quanto deve essere l'altezza, nella parte terminale della tastiera con la cassa del violino?
ho misurato il mio 22 mm secondo te è nella norma?
Grazie e ciaooo